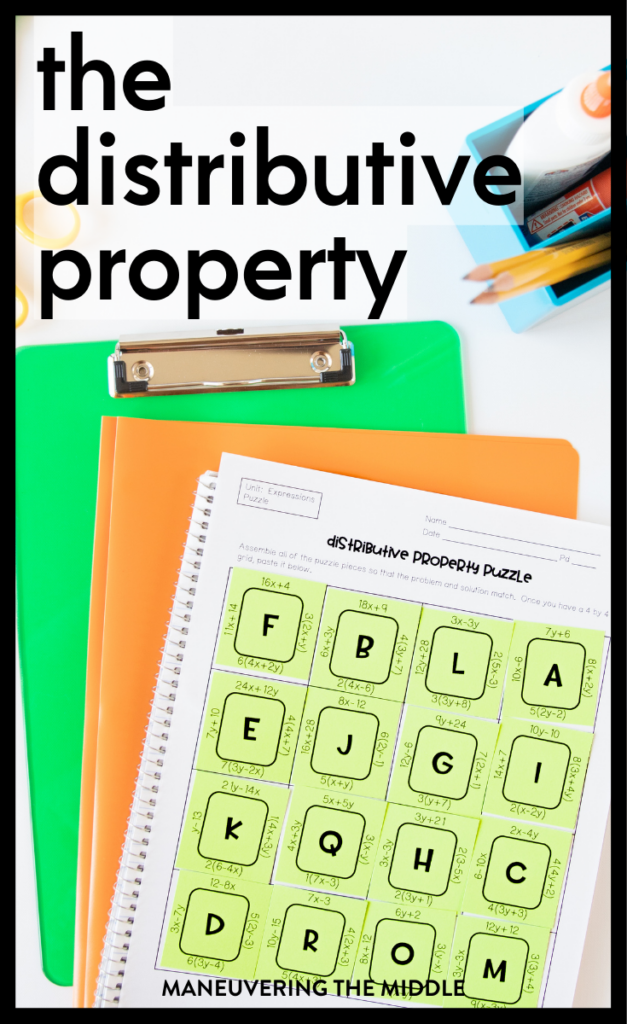
The distributive property is an important building block for algebraic concepts such as multiplying polynomials, recognizing equivalent expressions, and factoring polynomials. Since it starts as early as 6th grade, let’s talk about how to make this as concrete as possible for students. If you haven’t already, go back and read last week’s post on simplifying expressions by combining like terms.

Sidenote: I have to admit that when I first taught the distributive property, I focused solely on the procedure. I had students draw two arrows from the term outside of the parentheses to the two terms inside and called it a day. This is how I was taught. I tell you this to remind you that there are more ways to teach a skill than the way you may have learned it.
Let’s get to it!
Introducing the Distributive Property
By the time you are teaching the distributive property, students are familiar with order of operations. If you give them a problem like 3(8+2), they will jump at the chance to solve. Students will add 8+2 to get 3(10) and then multiply to get 30.
You can have students discover that the distributive property allows for another way to solve. 3(8+2) = 3(8) + 3(2) = 24+6 = 30. Proving to students that a property works instead of just telling them a property works will always earn a thumbs up from me.
Introduce Variables
Students may be wondering, “Why can’t I just keep following the order of operations? Why do I need to use the distributive property?” This is a fair question, and a perfect opportunity to introduce the distributive property using variables.
Let’s look at: 3(2x+4).
Ask students if 2x+4 can be combined or added together. No, they do not have the same variable.
Combining like terms only applies to addition and subtraction. You can multiply and divide terms that do not have the same variable or exponent, so you can use the distributive property to simplify this expression further.
3(2x+4) is like having 3 groups of (2x+4). I encourage you to use Algebra tiles as every possible opportunity, so here is a beautiful visual.

Use the CRA Method
Just like I explained in the previous post, Simplifying Expressions by Combining Like Terms, the Concrete, Representational, and Abstract Framework will help your students develop a solid understanding of the distributive property.

Area Models with the Distributive Property
As you can see in the “representation” column above, teaching and requiring students to use an area model for distribution, especially when you are teaching the distributive property in Algebra 1 can be extremely helpful. An area model will set them up for success when they are multiplying polynomials and factoring trinomials.
Distributing with a Negative
The most common error you will see regarding the distributive property will be related to signs. Those sneaky little negatives can get lost pretty easily. I have some ideas that I have not used in my classroom (in full transparency), but came to mind when writing this blog post.
Since multiplying by a negative, always results in the opposite, you can teach students that if there is a negative outside the parentheses, then it will always change the inside signs to the opposite. (Reviewing integer rules will reinforce this, but sometimes economy of language wins).
I actually think that this is best introduced using a visual. Here is how I would show it and ask students to show their work using this method too.

Other Tips
There are so many ways to introduce this topic! Here is another idea from our Student Handouts below.

Saying “I want one drink, 2 slices of pizza, and one ice cream cone” 4 separate times isn’t efficient. “I want 4 drinks, 8 slices of pizza, and 4 ice cream cones” makes a lot more sense.
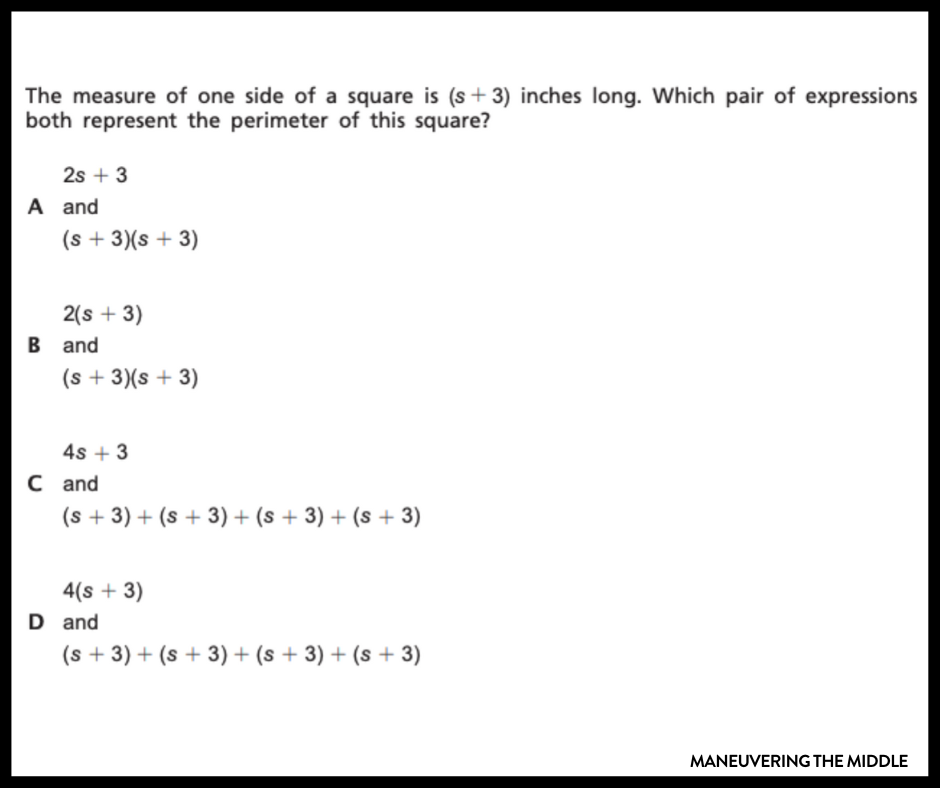
Angie, our amazing editor (and so much more), found this test problem on a New York 7th grade state assessment. This problem could definitely benefit from sketching a square and labeling each side. This would be an excellent problem to talk about why the wrong answers are wrong.
That about covers it! How do you teach the distributive property?
