As teachers, we are always looking for new and better ways to do things. I think it’s part of our nature. I remember in my first year teaching, I bought those office trays that I used for students to collect and turn in papers. The trouble was that the papers would get crammed in there, some would fall out, and oftentimes, students would slip them in the wrong tray!
The next year, I saw a teacher who had bought those small drawers, and I was so impressed. It looked so much neater and was far better for storage!
So, here are five ideas for teacher organization that you may or may not have considered for your classroom.
1. Tardy sign in clipboard
Some schools have tardy slips or other various passes, but those tiny papers are just asking to get lost on a teacher desk. So, I put a nail (or Command hook) into the wall right inside the door and hung a clipboard. When a student was tardy, they simply signed the tardy sheet. It was easy, it required nothing of me, and I had all documentation in one place.
2. Binders for unit planning
Oftentimes, I get questions about how to best organize all the different types of resources in your classroom. Some people have a file cabinet and prefer the hanging file folders. I did try that one year and found that what actually happened was that it held a giant stack of papers to be filed. #teacherfail
I really loved when I started using binders for unit planning. I tried it two different ways and would say that I really enjoyed both.
- Binder for each unit – I used dividers to keep student handouts separate from my answer keys and assessments. I also liked including a calendar at the front of the binder, where I would make any notes about the lessons or the materials I needed to prep.
- Binder for each grading period – My last two years in the classroom, I switched to a binder per grading period and upgraded to the 2” binder. I liked how I could still separate out my copies and student versions, but it was super nice when looking for missing work, make-up work, or pulling anything that a student had missed.
I think both worked great!
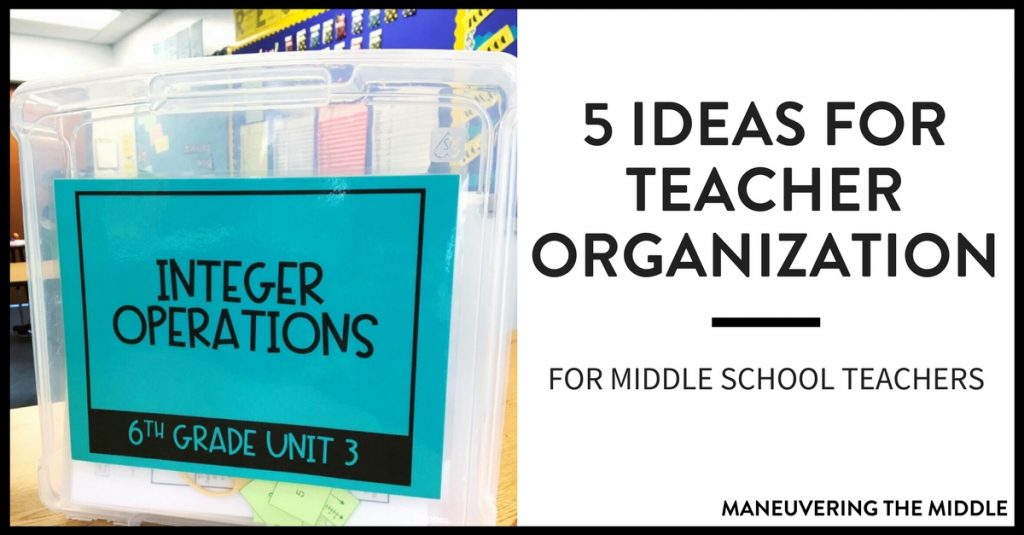
3. Storage cases for activities by unit
This past year, I picked up a few large storage boxes at Costco and quickly fell in love. They stack, they can hold an 8.5”x11”, and they even stand up for storage purposes. They are just the right size to hold all of the task cards, card activities, scavenger hunts, etc. for an entire unit. I picked up a set of six on Amazon, but I have also seen them at Michaels where you can work a coupon and sale together.
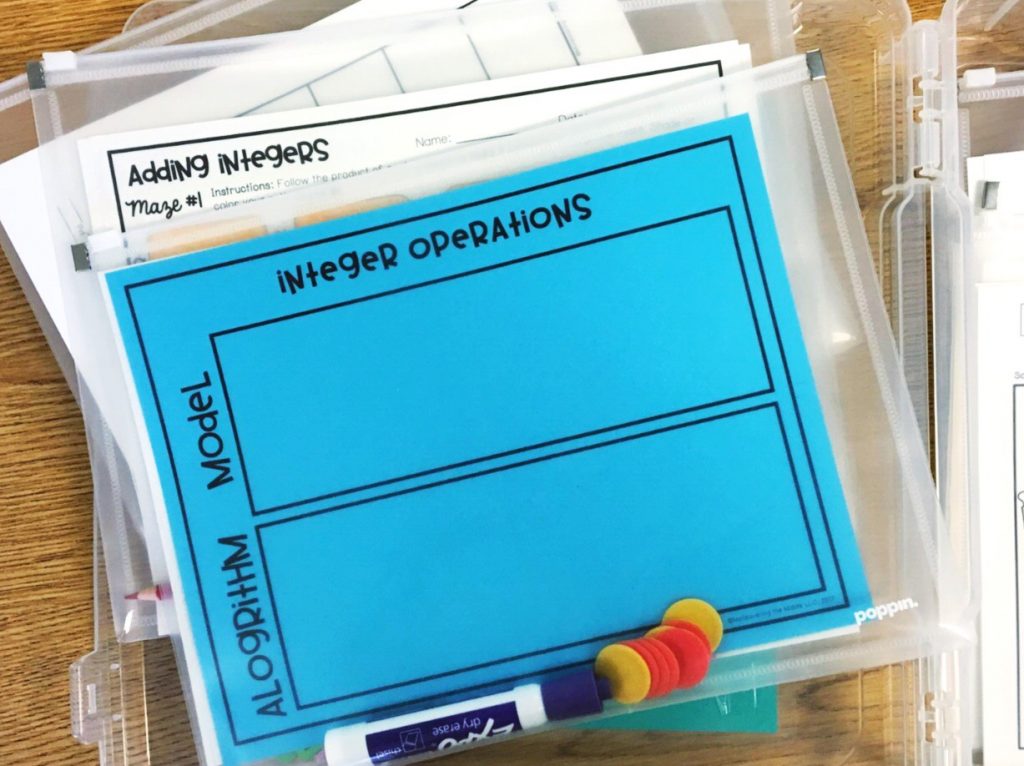
We used these at CAMT last summer to display and organize all of the various activities. So many people stopped by to see the storage and loved how it held everything together. I am a huge fan!
4. Computer file storage
Again, you learn by experience here. My suggestion would be to become a master of all the folders: a specific folder for each grade level prep with various unit folders inside. Now, the hard thing is remembering to save things that have been emailed to you or that live in your downloads folder. But, I do think you will thank yourself the following year, when you can easily locate your materials.
I discussed the various ways to save items with Tyne, and we both discovered that we used different systems. She created a number system for herself to keep track of the unit and the day. For example, 3.2 would be the third unit, second day.
I tried this and hated it when I switched grade levels two years in a row, and when I came back to my numbering system, I really couldn’t remember. Now when I create resources, I keep all of the documents in one file for each type of activity. For example, all of my student handouts for an entire unit are in one file; a cut-and-paste would be a separate file, etc.
5. Teacher reflections
Earlier I mentioned my unit binders – well, I also loved to do a simple sticky note reflection on each set of handouts, assessments, etc. I would jot down a few notes about the lesson – whether that be something a student asked or a really great example or even if the lesson needs more time. I slapped that sticky note on the corresponding page and then put it on the shelf. The following year, when I would go back to the unit to plan, I would pull out my unit binder and look over my notes. It helped me to keep from making the same mistakes again and to continue to improve my craft with just a simple reflection.
Classroom organization can be time-consuming and a task that is easy to put off. But, when your classroom is organized, you enjoy it better, you feel calmer, and-let’s be real-you spend 8+ hours a day there. What other tips do you have for teacher organization?
P.S. Read 5 more organization tips here and here.


I get ideas from here, there, and everywhere in between. I use these to store my task cards. They are the perfect size. I copy the cover, instructions, and answer key and shrink it to the same size as the task cards. I use double sided tape to stick the cover on the inside of the case, so they don’t get mixed up. This is the link: https://www.amazon.com/dp/B00GLQX3CO/ref=cm_sw_r_cp_api_i_UIB7Ab0CN90JH
This one is perfect for half page activity cards like some of yours.
https://www.amazon.com/dp/B000YUWKU4?ref=yo_pop_ma_swf
For organizing student papers (absent work, handouts, graded work, reference charts, and a backup pencil in case they forgot theirs) I buy enough of these for each of my students to have a pocket and each student has a folder that is color-coded to their class. I hang them with command hooks and they have been up for 2 years. My lessons are also all color coded. My weekly copies are in color coded file folders for each day. I also have a color coded file folder for to be graded work and current unit’s answer keys.
https://www.amazon.com/dp/B01DCSMRUW?ref=yo_pop_ma_swf
Wow, Regina! Your organization is giving me all the heart eyes! Thank you for the ideas!